
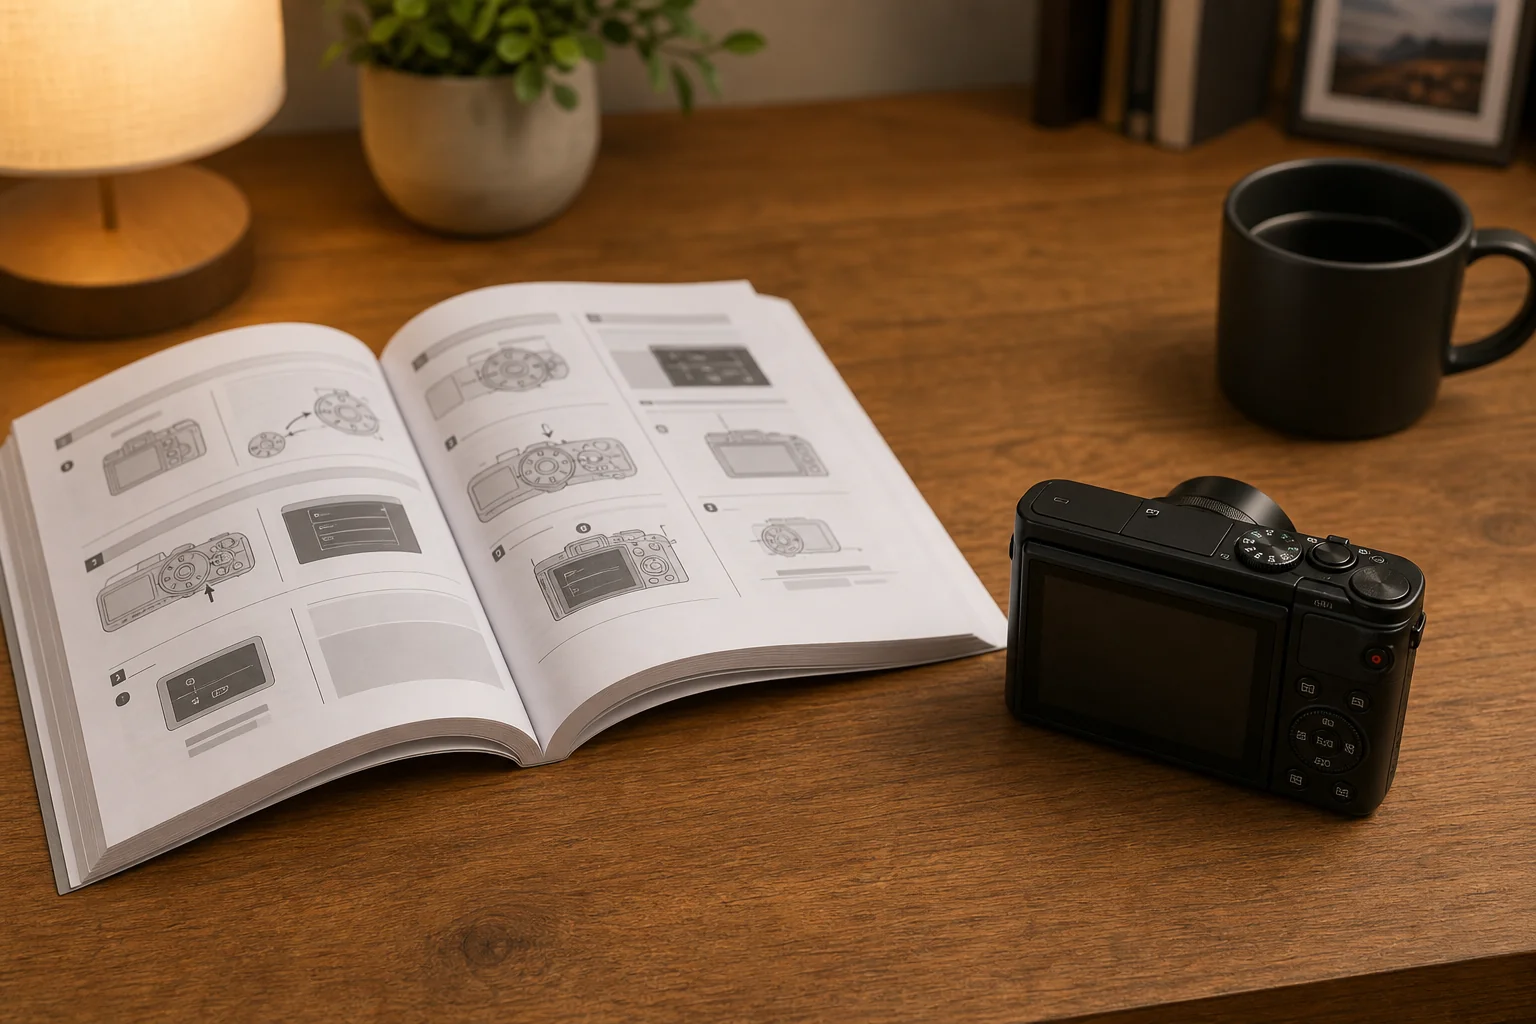
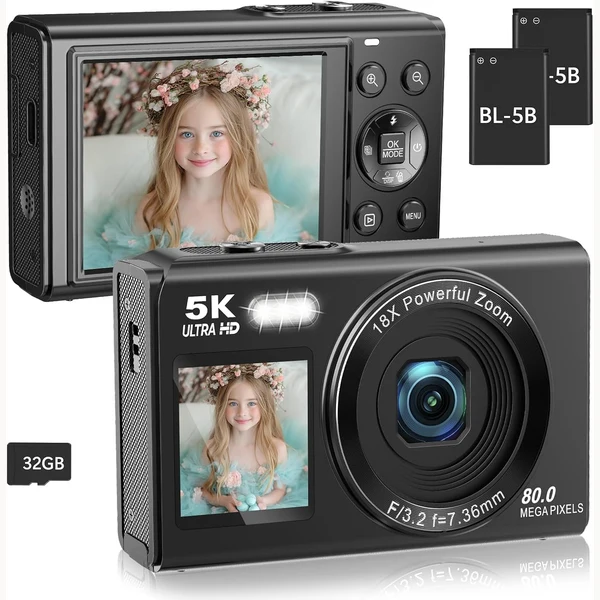
Lost the paper booklet? This Saneen Digital Camera user manual guide covers what owners need on day one and month six. Saneen ships budget point-and-shoot cameras through major online marketplaces with similar menus across 4K, 5K, and 8K tiers. Exact button labels vary by firmware batch — use your printed QR manual when available — but the workflow below matches most units sold under the Saneen brand name.
Model-specific video and resolution details live on our 4K, 5K, and 8K pages. Owner tips appear in reviews.
Unboxing checklist
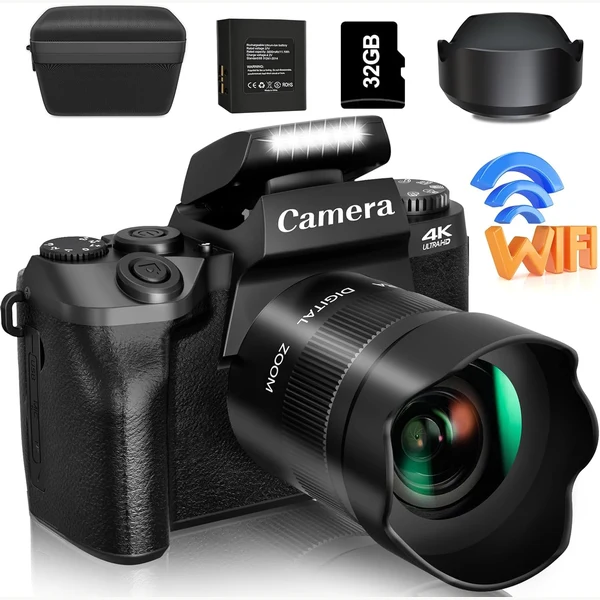
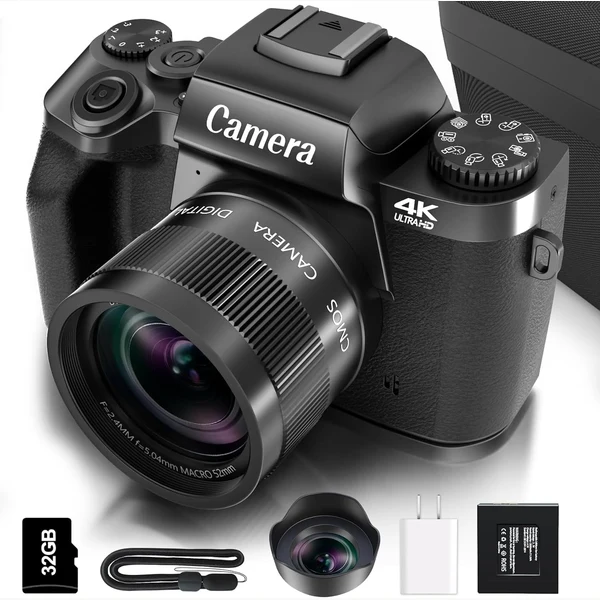
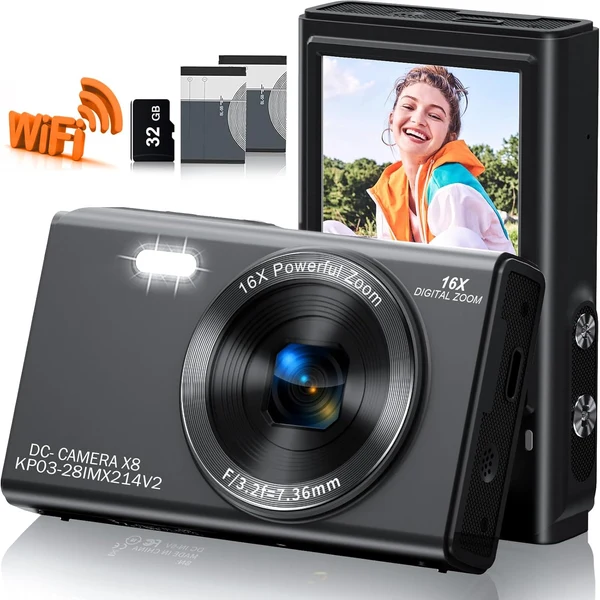
Verify box contents before discarding packaging: camera body, rechargeable battery, USB charging cable, wrist strap, soft pouch, 32GB SD card, mini HDMI cable, and a quick-start pamphlet. Insert the battery into the bottom compartment until it clicks. Remove any plastic film from the screen and lens. Charge fully before the first shoot — partial factory charge is normal.
Inspect the flip screen hinge with gentle pressure. It should rotate smoothly through roughly 180 degrees. If anything feels cracked or loose, contact the marketplace seller immediately for exchange.
SD card setup
Insert the 32GB Class 10 SD card label-facing the front of the camera until it seats with a click. Power on. Open the settings menu — often a gear icon — and choose Format SD Card. Confirm. Formatting in-camera creates the correct folder structure for photos and videos. Back up any pre-loaded demo files first if present.
If the camera says card error, reseat the card and format again. For replacement cards, use SDHC UHS-I rated V10 or better. 64GB and 128GB cards work on most firmware versions when formatted in-camera. Never remove the card during writing — wait for the recording lamp to stop.
Date and language
On first boot, set language, date, and time. Accurate timestamps help sort vacation folders on your computer. Choose 24-hour or 12-hour clock preference. Time zone adjustment matters when traveling — revisit settings after landing. Some batches offer multiple interface languages including English, Spanish, and French.
Set the beep sound on or off depending on preference. Silent mode helps during school plays and museum visits.
Photo mode basics
Rotate the mode dial to the camera icon for still photos. Half-press the shutter to autofocus — a green box or beep confirms lock. Full press captures. Tap the screen on supported models to choose focus point. Switch megapixel size in the photo settings menu: maximum (44MP, 50MP, or 64MP depending on tier), medium for faster bursts, or small for quick shares.
Enable face detection for group portraits. Use the flash icon for indoor fill — force off for concerts and museums where flash is prohibited. Review shots immediately with the playback button; delete mistakes to save card space.
4K video recording
Rotate to the video camera icon. Open video resolution and select 4K UHD or 1080p as needed. Press the red record button to start and stop. Use the flip screen to frame selfie vlogs. Enable electronic stabilization if available — it crops slightly but smooths walking shots.
8K-tier bodies may list an 8K mode — see our 8K guide for heat and file-size limits. For most users, 4K at 30 fps is the reliable daily setting. Lock exposure on your face before recording outdoor walks from shade into sun.
Wi-Fi pairing steps
Install the companion app named on your pamphlet — titles vary by OEM batch. On the camera, open Wi-Fi settings and enable wireless. Connect your phone to the camera network or follow in-app QR pairing. Approve connection prompts on both devices. Transfer test photos before relying on Wi-Fi at an event.
Large 4K clips transfer slowly. Use USB to computer for bulk archive. If pairing fails, restart camera and phone, forget the network on the phone, and retry. Disable VPN apps during pairing — they often block local camera networks.
HDMI TV playback
Connect the mini HDMI cable from camera to TV. Turn TV to the correct HDMI input. Power on camera and enter playback mode. Use on-screen controls to pick photos or videos. Audio routes to TV speakers when supported. Disconnect HDMI before pocketing the camera to avoid port stress.
Some TVs downscale very high-resolution files — normal behavior. For critical review, copy files to a laptop instead.
Charging and battery
Charge via USB cable and a 5V wall adapter — phone chargers work. LED often turns red while charging and green when full. First full cycle may take two to three hours. Avoid running the battery to zero repeatedly; recharge after heavy shoot days.
Spare batteries are worthwhile for weddings and theme parks. Remove battery if storing the camera for months. Keep contacts clean and dry.
Common troubleshooting
Camera frozen: hold power ten seconds to force restart. Blurry photos: clean lens, steady hands, half-press to focus. Dark video: shoot in brighter light or enable LED fill. Card full: delete or offload files, or insert larger card and format. Wi-Fi will not connect: reset network settings and update phone app. Overheating during video: stop recording, cool five minutes, use 1080p for long clips.
Firmware updates arrive occasionally through USB or SD file install — follow only instructions from your specific pamphlet. Wrong firmware bricks units. When in doubt, email hello@saneendigitalcamera.com with your model number from the box label.
Maintenance habits
Wipe lens with microfiber only — no shirt fabric. Store in the pouch with lens cap closed. Keep away from sand and pool splash without a case. Export favorite photos monthly so a lost card does not mean lost memories. Teach kids to use the wrist strap — plastic bodies survive bumps but not every driveway drop.
You now have a practical manual for daily Saneen use. Compare features across tiers on our model pages and read who makes Saneen for warranty and seller context.